Difference between revisions of "LCDDisplay"
Jump to navigation
Jump to search
| Line 29: | Line 29: | ||
{| border="1" style="border-collapse:collapse; border:1px solid silver;text-align:left;width:50%;" | {| border="1" style="border-collapse:collapse; border:1px solid silver;text-align:left;width:50%;" | ||
! Parameter: | ! Parameter: | ||
| − | ! | + | ! Description: |
| − | ! | + | ! Range: |
| − | ! | + | ! Comments: |
|- | |- | ||
| ''Line'' | | ''Line'' | ||
| − | | | + | | Linenumber |
| 1-2 (of 1-4) | | 1-2 (of 1-4) | ||
| | | | ||
|- | |- | ||
| ''Column'' | | ''Column'' | ||
| − | | | + | | Column position |
| 1-16 (1-20) | | 1-16 (1-20) | ||
| | | | ||
| Line 49: | Line 49: | ||
|- | |- | ||
| ''data option'' | | ''data option'' | ||
| − | | | + | | In case of Message: label id of text to be shown |
| Message:1-20 | | Message:1-20 | ||
| | | | ||
Revision as of 12:26, 4 October 2015
Contents
Introduction
The ESP8266 module can be used to control an I2C LCD Display.
Hardware
Connect the LCD Display to the I2C interface. This display works with 5 volt VCC, but the I2C connections should be "floating". The 2004 display from "Funduino" that we used in our testlab could be connected without levelshifters.
Connections
WARNING: Some LCD Modules might have pullup resistors to 5 volts VCC. In that case a levelshifter should be used
 LCD 	 	ESP-01
 GND 	 	GND
 VCC    	-
 SDA		GPIO 0
 SCL		GPIO 2
Software
Custom sketch
ESP Easy
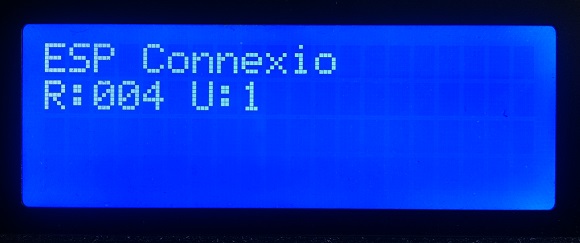
ESP Connexio
Command:
LCDI2CWrite <line>,<column position>, <data command>, <data option>
| Parameter: | Description: | Range: | Comments: |
|---|---|---|---|
| Line | Linenumber | 1-2 (of 1-4) | |
| Column | Column position | 1-16 (1-20) | |
| data command | Message, Clock, IP, PortInput, Variable, Event | ||
| data option | In case of Message: label id of text to be shown | Message:1-20 |
Sample
LCDWrite 1,1,Message,1
